Having been sat in my cupboard all that time the sides and floor of the kit had taken on a banana-like shape, so theses were immersed in hot water and then flattened between a glass worktop protector and glass drinks coasters, held flat by that good old standby of Lima loco weights (every ex-OO modeller of a certain age has a stash of these!). All flash was removed using a sharp craft knife and parts cleaned up using nothing more than pound shop emery boards.
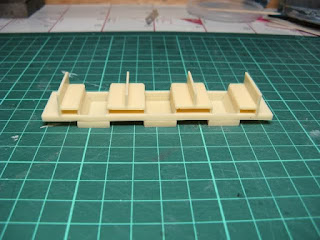
The chassis was assembled first:
Araldite Rapid epoxy adhesive was used, the footwells were set into the chassis frame dry and the adhesive carefully delivered to the joints using a cocktail stick. The seats were then added on top - this was just possible from one mix of the glue!
The sides and ends of the body were assembled in a slightly different way, due to an unintended tumblehome in the sides I opted to use superglue to attach these to the ends (so as to straighten the bow and set quickly), then re-enforced the joins with Araldite from inside.
So far this build has been as per the intended sequence, I'll be showing a few tweaks I've made in a future post.


No comments:
Post a Comment