We last saw the wall about 5 weeks ago in it's basic plywood form, with the stated intention to loosely follow the Belton House example. Once the donated garden wall bond brick had arrived I set-to with that aim, brick for the walls and stone gate posts. But it didn't look right, far too grand for a smaller estate, a fact compounded by a drive past a few local properties and a glance at their walling. I now faced a dilemma - was there enough brick material to replace my home-scribed styrene gatepost material?
The answer... just! I actually opted to remove the extra layer of the gatepost on the front (roadside) edge and that led to the fun of splicing in the new sections by carefully cutting around the edges of the bricks. This is actually reasonably easy on 7mm scale bricks and any gaps were filled in with Milliput during the tidying up stages.
The Milliput was also used to change some of the bricks where the corner joins created some tine slithers of brick, extending them back into the adjacent brick. Combined with the subtle re-carving of vertical joins most of the joins now look credible if not 100% accurate. Also of note is the slightly tumble-down finish to the left hand end, where the office building will sit. We have to imagine that the wall was shortened at some stage. The capping stones are made from mounting board, cut as individual pieces and treated with button polish (shellac). This produces a softer finish than making them out of styrene.
In contrast, the gates are styrene. These are actually the Mk3 versions, the originals used two layers of embossed sheet back-to-back with 60 x 125 thou framing, but in the light of the following morning were too chunky. Mk2 used one layer of embossed styrene with the plank lines additionally scribed on the rear, with 40 x 100 thou framing. Once the hinges (Grandt Line mouldings) were in place I realised it all now looked too thin so rather than start again, I fretted out the planking, cleaned up the frame and added a new layer on the outside.
When I first placed the walls and gates on the layout (before making the gates) I realised that I had actually made the gateway a little too narrow and there was a likelihood that some items of stock may hit something. The shorter wall was shortened some more and the longer wall moved back a few millimetres. This then dictated the gate size. With the gates made I placed everything in location to check the clearances again. The gates hang on small hinges made from 0.5mm brass wire and whilst in theory they could be made poseable, I think they will be firmly fixed in the open position.
From the rear the detail on the gates can be seen, although there is a high chance that most of this will not be visible once there is some vegetation in place. Also visible in this view is the custom join made where the wall changes angle, again something that may well vanish into the undergrowth!
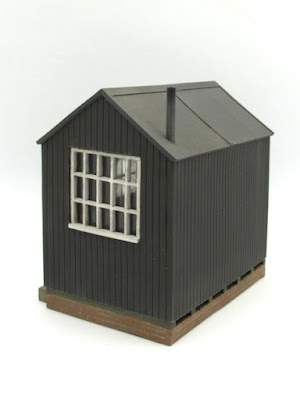
Painting has already started with a coat of primer applied - I have had a little practice on the base of the office building but this will be the first large area of brickwork I have painted in a while...
Colin


