When we last saw my conversion of the Peco Police Phone Box to represent the tenth Doctor's TARDIS it was ready for scrubbing up for the paintshop. Cleaned up it was sprayed with grey primer and I checked for any blemishes that required attention. I then checked photos of the TV prop and something became very obvious that had completely passed me by...


The above photo shows the transfers in place for the 'Police Box' lettering. In order to prepare the matt surface for these I applied three coats of 'Kleer' to gloss the surface. After applying the decals another coat of 'Kleer' sealed them in place, before a weathering wash was applied over the whole panel to tone down the black and white, both colours I tend to avoid. The Peco decal for the sign on the door was a little undersized for the TV prop and this was substituted with a version found online printed onto matt photo paper and applied after carefully peeling away the back layers of the paper,
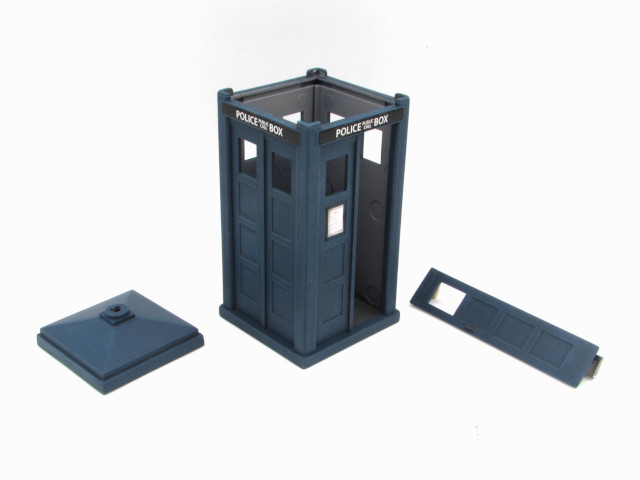
The window frames were picked out with a fine brush in the blue paint. One feature of the 2005 TV prop was that the windows appeared white behind the glass. I eventually resorted to spraying the backs with white primer, but not fully coating, to give a translucent effect. The white was a blessing as I wanted to add an interior printed on matt photo paper, in a similar manner to the TV prop. Again this uses an image downloaded from the web, printed with multiple version of the door sign.

Once the components had been matt varnished and the windows fixed in place, the interior print was cut to size and folded to shape. Some thin strips of basswood were applied at either end and the centre in order to balance out the effect of the window mouldings that sit approx 1mm behind the sides. You can just see the top of the centre piece at the rear.


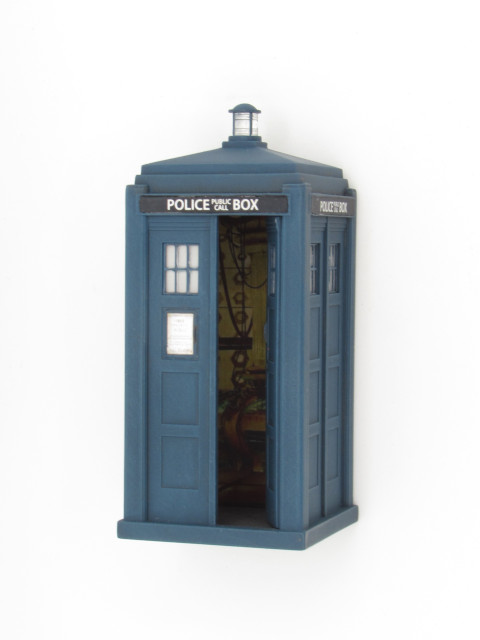
So we have a TARDIS, we have a Doctor, the next post will look at the creation of a diorama base to bring the elements together.
Colin
No comments:
Post a Comment