
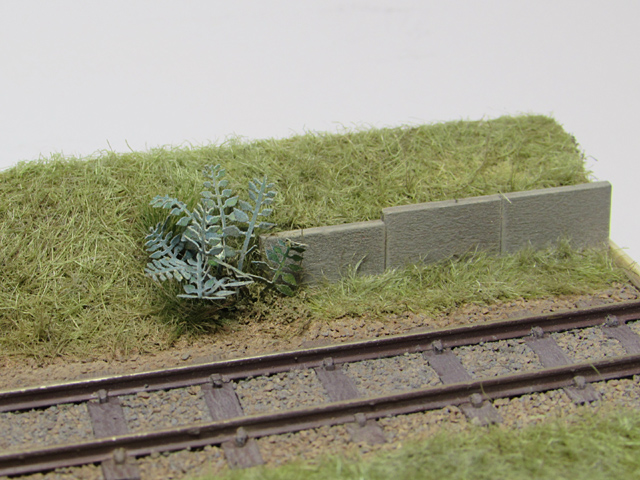
With the glue dry I carefully dry-brushed the tufts with a light grey/green mix of acrylic paint to reduce the sheen, and applied matt varnish to the laser cut plants to tone them down a little.

As you may have already guessed, the idea is to show that this is the path to the beach and hint at a seaside location. Perhaps the path to... Shifting Sands?

I do plan to add some signs warning of the crossing, but until then it has gone into the display cabinet. My usual light-wood surround and lettering completes the scene - or does it? As an experiment I have added a small backscene in the display cabinet to add to the illusion of depth. The beach hut scene is my own photo taken at Chapel St Leonards, given a watercolour filter in 'Photoshop' and printed on canvas photo paper.

Whether it is an experiment to be repeated, we shall see, I'm always looking at how items can be displayed and there are pros and cons to the micro-diorama approach, not least that it shows up that the cabinet shelves are not totally flat!
Colin
No comments:
Post a Comment