
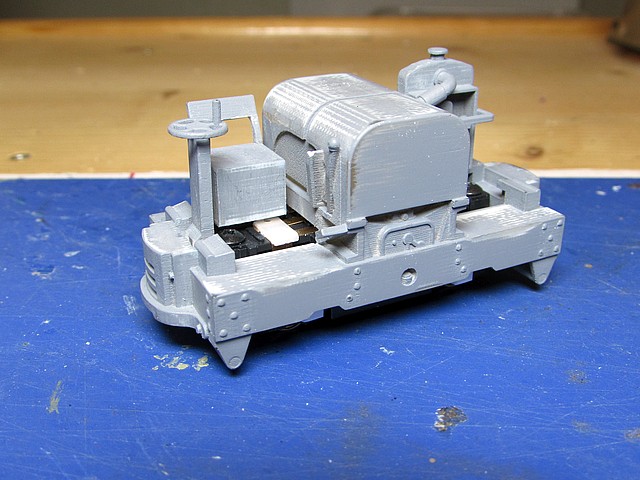
As can be seen at this stage I also removed the printed axleboxes and created my own further back towards the Kato chassis mounted on my support strips. This is a result of having studied some pictures of the RH&DR machine and noticing that it has the axleboxes set further in from the edge of the frames than 2ft machines.
Also visible in the shot above are the slots filed into the coupling castings to create a 6mm height to allow a MicroTrains coupler to be attached. The usual mounting height for these is 7mm but I have some designed for use on Trailer-on-Flatcar (TOFC) cars that are underslung and so have saved removing a lot of material.
Having the axleboxes set further in removes some of the slightly unbalanced look they had at the frame edges for a 9mm gauge machine and helps hide the overlong wheelbase of the chassis, even from the side view.

With work on the body pretty well complete, I started work on a driver figure created from a Prieser seated figure. I've also found some little bits and pieces to add to the running plate to help hide the motor unit under the radiator.
Colin
No comments:
Post a Comment