Earlier in October I completed the paintwork on my 009 LCLR Simplex 'Wilton'. Citadel 'Lothern Blue for the main bodywork, which had 4 slightly-thinned coats; Vallejo red on the bufferbeams, and a slightly lightened black on the frames, all hand-painted. Humbrol matt acrylic aerosol varnish has done a reasonable job of hiding the brush marks.

Glazing was almost as tedious as I thought it might be, 20 thou sheet cut to size to fit the apertures and held in place with Johnson's Kleer. Just for an idea of scale, the cab front window is 4.5 x 15mm... Just visible in the cab is the driver, a Hornby figure with his raised right arm lowered to about the position of the handbrake wheel on a Simplex (don't tell anyone but I haven't modelled it!). Primed, given a black wash and then dry brushed with flesh colour and overall blue in appropriate places he is certainly minimalist. Once he was fixed in place the cab roof was secured in position.

I realise I have been a little remise and not mentioned anything about the LCLR diorama for the coach and 'Wilton'. Here is a glimpse at an early stage or development, the platform is a much modified Wills station halt kit, reduced in height and with alterations to the support structure.

The track was painted using Halfords matt brown sprayed at the rail sides, and Humbrol matt brown (a lighter shade) sprayed down on the sleepers. Ballast is Woodland Scenics fine grey mixed with ash and AK smoke grey pigment, secured in place using Johnson's Kleer. Ground cover is my usual PVA/polyfiller/brown paint mix with WS fine turf sprinkled on, and grass from hanging basket liner. This was manicured with nail scissors and hair clippers, the various effects added with hairspray and scatter and some Martin Welberg weed tufts to add extra colour and texture.
The platform was sprayed in grey primer and then painted using washes of dark grey and brown followed by dry-brushing to give differing wood shades. The white line was masked off and off-white dry brushed on, which looked far too straight so I added in a few points of disruption...

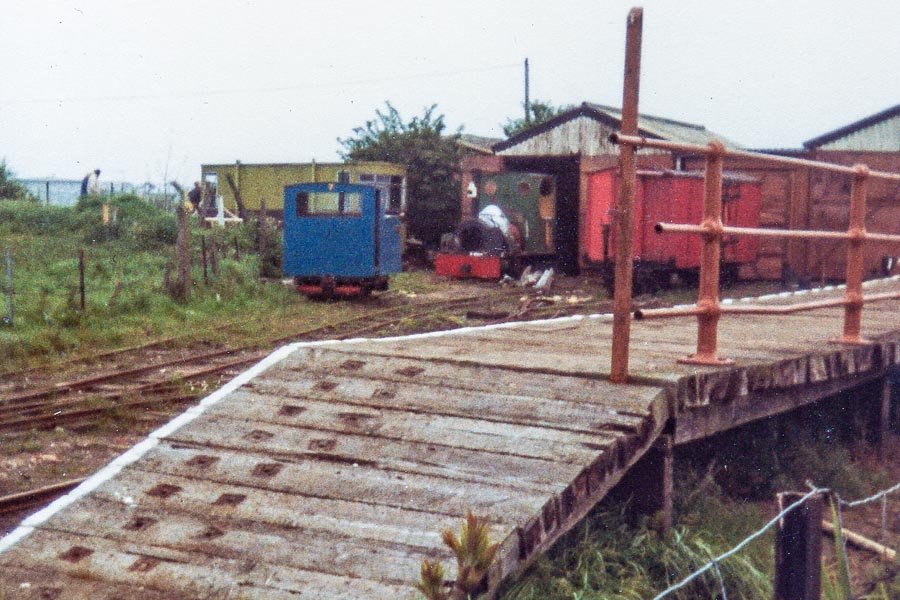
The wooden platform at the North Sea Lane terminus of the LCLR was backed with a stanchion/rail fence, no doubt recovered from elsewhere. It is seen to good effect in this picture on Dave Enefer's website: http://www.davesrailpics.bravehost.com/lclr/img337w.jpg
As this would appear at the front of the diorama I had some reservations about building this as it might be a view blocker, but decided to rise to the challenge and obtained some 15mm 3-hole model boat stanchions from eBay. With the aid of a jig drilled in some scrap ply I soldered 0.7mm brass wire in as the cross bars. When setting the posts into the platform I drilled 0.9mm holes and then opened then out with a 1.9mm drill to sink the base down a little. The post at the end looks to have had a sign on it at some point but I'm not sure what it was.

The platform fence had a light coat of etch primer and was then painted in Humbrol red/brown, with some red and yellow mixed in in an attempt to lighten it a bit. A lighter shade was dry-brushed over this and Humbrol matt varnish sprayed over, maybe a little too heavily on purpose to get a bit of a ghosting effect. Once dry it was set in place, showing here how it isn't that much of a view block despite being at the front.

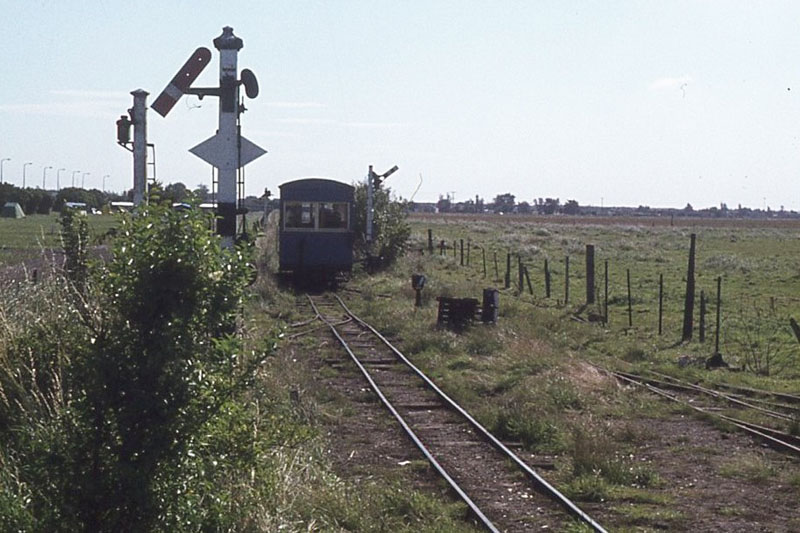
A distinctive feature of the LCLR North Sea Lane station was the ex-GNR somersault signal used as starter (although I get the feeling it was more ornamental!). Seen here in a rather overgrown state: http://www.davesrailpics.bravehost.com/lclr/img685w.jpg
My attempt is scratchbuilt with the aid of a couple of etched parts supplied by my Dad. He also supplied the post, vintage Hornby Dublo, which (collectors look away now...) was cut down in height. Barring the ladder and wheel (both from old A1 etches) all other parts are scratchbuilt in styrene, with the bracket holding the arm being reinforced with wire to represent the operating rod.

Colin
No comments:
Post a Comment